A new feature of StudioPress themes is that they are being Internationalized (I18n). This means that you can now translate these themes into your own native language! (Currently Internationalized StudioPress themes: Genesis*, Church, Corporate, Education, & Magazine. This post is a simple “how to” that should help you get a translation done.
Step 1. Download Poedit
To be able to translate a theme, you’ll need a program called Poedit. It’s available for Windows, Mac and Linux. If you’re using Windows or Mac, you can download it here. If you’re on Linux, get it through your distributions package distribution system.
Step 2. Run Poedit
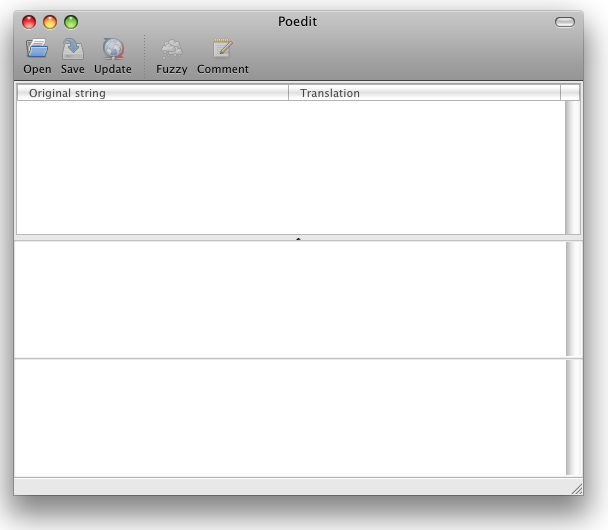
Once you download and run it, it’ll look something like this:
A smart thing to do now is go to Preferences and enter your details, these will be used in all files you ever create with Poedit.
Step 3. Creating a new catalog
You can then go in to the File menu and select “New catalog from POT file…”. This opens an open file dialog. Go to your themes’ “languages” folder and open the .pot file you find there. Poedit will ask you to give some info about Project names, versions, teams, etc. It’s very important to set the Language and Country correctly here. After that, you can press “OK”.
Poedit will now ask you to name your file. This is very important (although easy to fix later). The naming convention for these files is the two letter language code, in lowercase, followed by an underscore, followed by the country code in uppercase. So for my home country, the Netherlands, and language Dutch, it would be nl_NL, for US English it would be en_US and for UK English it would be en_UK.
Step 4. Translate all strings
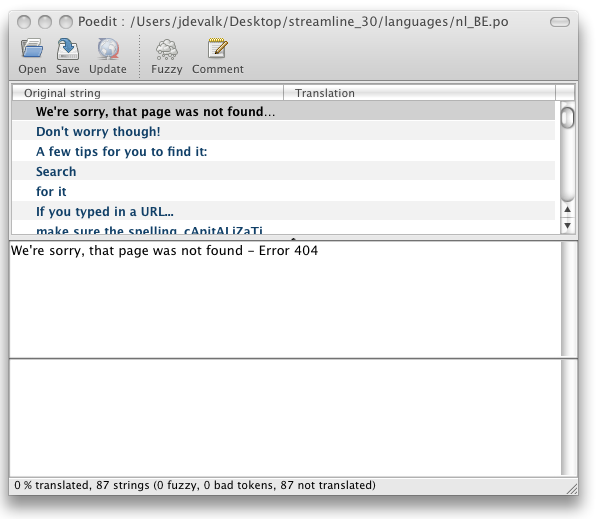
After doing that, you get the interface that this is all about, in which you can translate the strings. This will look something like this:
The upper left side contains the original strings, the right side the translations. Below that is the currently selected string in the first box, followed by the area where you can type in your new translation. You can now go through all the strings and translate them.
Step 5. Save, upload & enjoy!
Once you’re done, save the file. On saving, Poedit will actually create two files, a .po file and a .mo file. No need to really describe what those are here, but suffice to say the .mo file is the “machine” version of the .po file. Now you can upload both files to your blog, placing them in your themes languages directory, and you’re done. If you’re running a localized WordPress, your template should now be localized as well!
* – Note: The Genesis Theme Framework is internationalized and comes with a .po file. All available Child themes are internationalized, too and since they work with the parent theme-Genesis, the Genesis .po file covers them.

